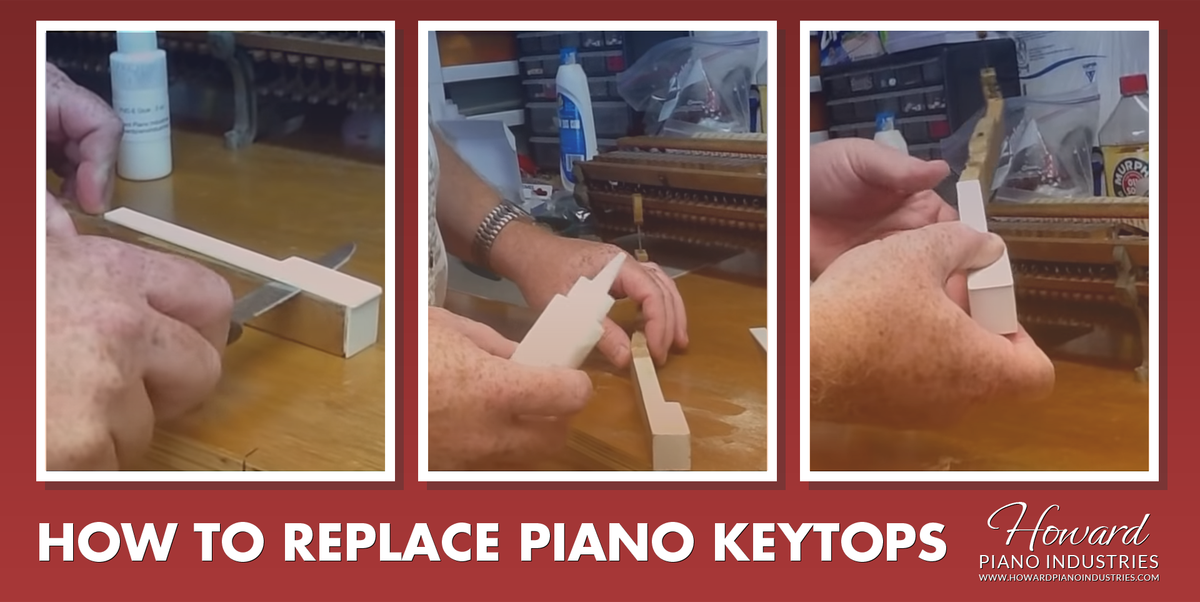
How to Replace Piano Keytops
Posted by Casey Moore on Mar 25, 2022
Introduction
Replacing old or broken piano keytops might seem like an intimidating task for someone without experience, but with a little patience and the right tools, it’s actually quite straightforward. The process is exactly the same for both upright pianos and grand pianos, once you've removed the cabinet parts in the way of the piano keys. New plastic keytops and simulated ivory keytops are available here on our website.
What You’ll Need:
- New keytops
- Sharp knife
- Chisel (optional)
- PVC-E glue
- Flat file
Step 1: Removing the old keytops
Take a sharp thin blade knife and pry the old keytop off. The keytop should pop off easily, but it may require some more effort depending on its condition. If the front of the keytop doesn’t come off with the rest of it, simply take your knife (or a chisel, if necessary) and pry it off.

Step 2: Cleaning the key
After the old keytop is removed, lightly sand the key wood with medium sandpaper, using a sanding block. Your goal is to remove the old glue and create a smooth surface for the new glue to stick to. Don’t over-sand-- it’s important to make sure the key surface is even, otherwise the new keytop won’t stick properly.

Step 3: Lining up the keytops
When you line up the keytop, make sure the head is even on the sides. The notch is usually a little oversized, and if possible, you want any overhang to be on the inside, where the next black key sits. Double check to make sure the position is right, because once you apply the glue, it will set very quickly. After lining up the keytop, set it aside and get out your glue.

Step 4: Applying the glue
We’ve found that PVC-E glue is the best adhesive for gluing on keytops. Apply a thin bead of glue running from the top to the bottom of the keytop. Make sure the entire surface is covered with a thin layer of glue. It doesn’t take much—if you use too much, it will ooze out of the sides of the keytop and make a mess.

Step 5: Installing the new keytop
Once the glue is applied, place the new keytop back on the key. Apply pressure to the key firmly to make sure it sets properly. Wipe away any excess glue that gets squeezed out of the key. The glue works quickly, but it’s best to let the key sit overnight to make sure there’s a good bond. After the glue has dried, carefully file down any overhang on the keytop so that it's a perfect fit, flush with the wood underneath


